

Happy Easter everyone! Elizabeth here with a fun last minute
Easter decoration ... and yes, it’s another something to put in a frame. What can
I say ... I love me some black frame fillers : ).
This Scrappy Carrot is actually a hybrid of two crafts I
have pinned on my “Basket Case” Pinterest board. I love the carrot made from paper straws
found here and I equally love this paper strip piece found here. Since
I didn’t have any orange paper straws (I know, gasp!) and I wanted a carrot shape
instead of an egg, I needed to come up with a Plan B.
Here's how I made my Plan B.
STEP ONE: Gather supplies.

- scissors: plain and fringe
- pencil
- white cardstock (mine is cut to 5 x 7 inches)
- green pattern paper scrap
- orange pattern paper scraps cut into 1 inch thick strips
- temporary adhesive
- carrot clipart (my carrot is approx. 4 x 5 ½ inches)
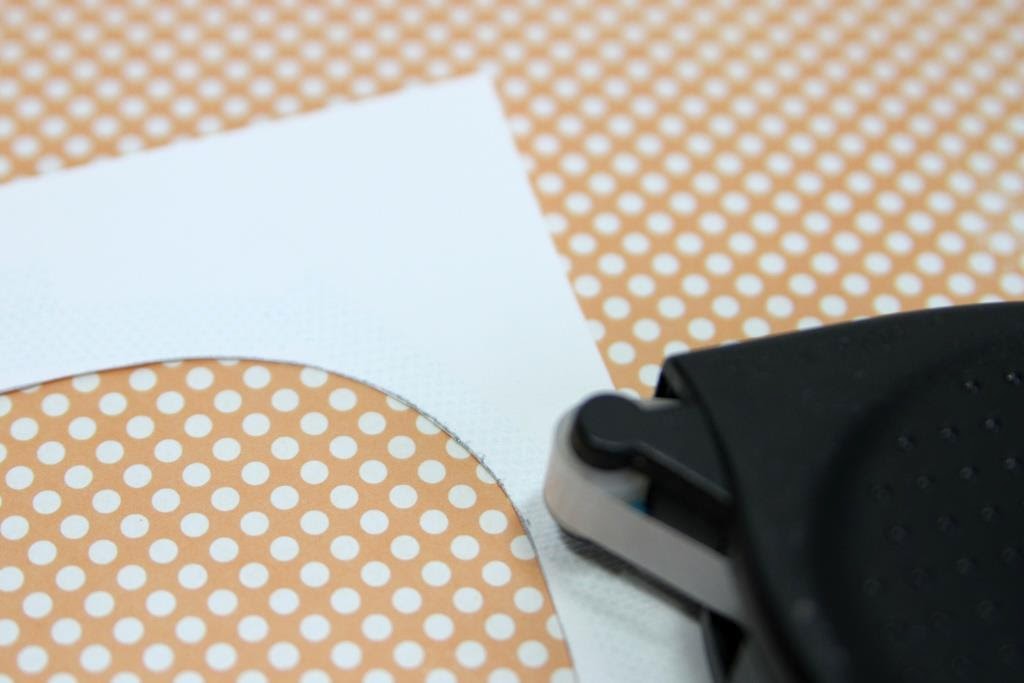
STEP TWO: Trace carrot clipart shape on backside of
cardstock piece.

STEP THREE: Cut carrot out to create frame.

STEP FOUR: Decide on pattern paper placement.

STEP FIVE: Apply temporary adhesive around cut edge of
carrot shape on back side of cardstock (I use temporary adhesive so that I can use
my sewing machine over it without gumming up the needle).
STEP SIX: Lay carrot frame over pattern paper strips and apply
pressure so strips stick.

STEP SEVEN: Use both plain and fringe scissors to hand cut carrot top then adhere it to top of carrot shape.


STEP EIGHT: Machine stitch around cut edge of carrot, making
sure to capture green top.

STEP NINE: Insert finished piece into frame.


So I hope you enjoy this quick frame filler idea! And let me know if you come up with your own
Plan C ... I’d love to see it : ).


