Showing posts with label Home Décor. Show all posts

Sunday, February 22, 2015

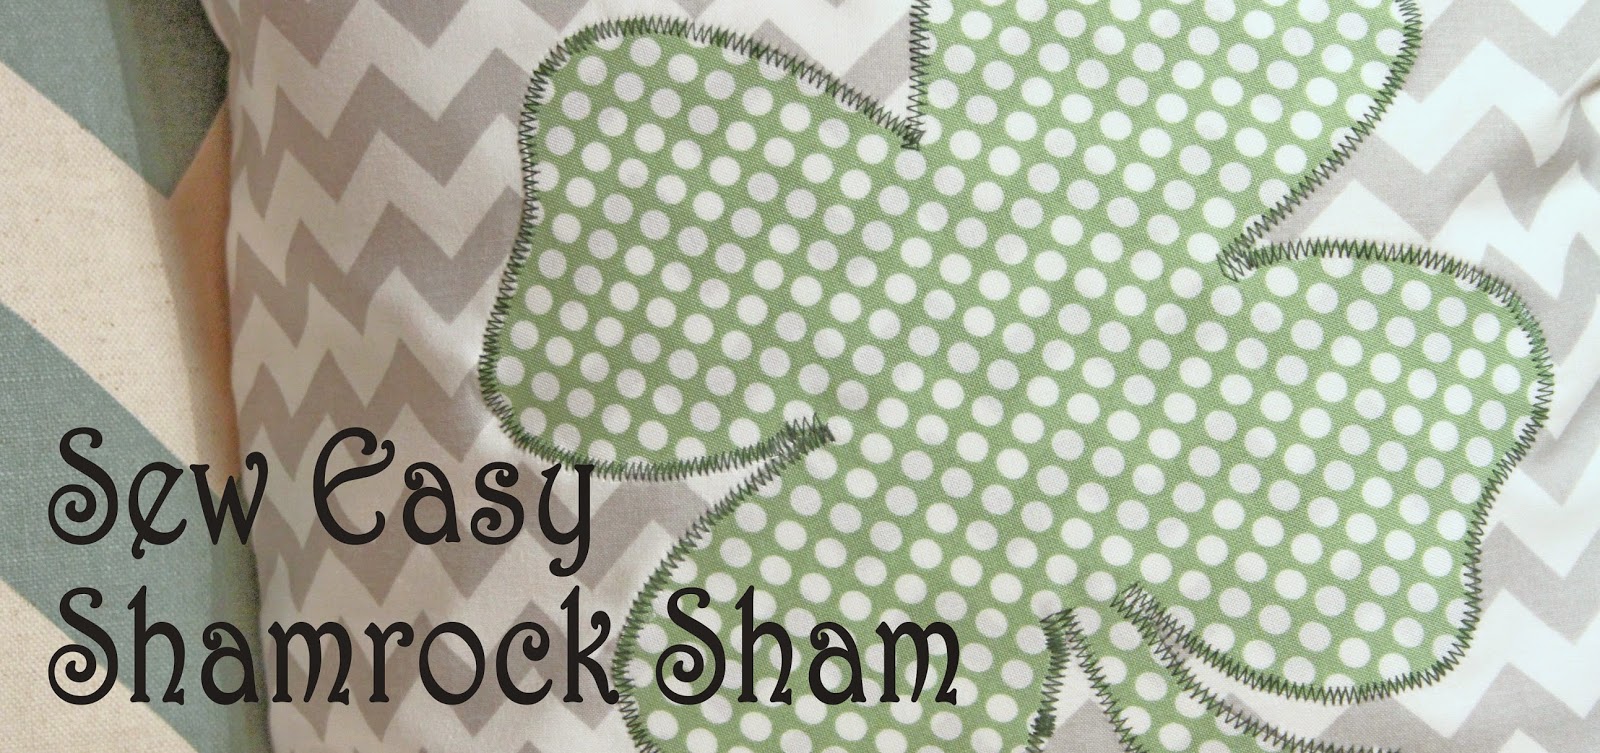
Sew Easy Shamrock Sham


Hey everyone ... Elizabeth here today with an easy envelope pillow tutorial.  I love making envelope pillow covers (or for the purpose of an engaging blog title ... “shams”) because they are easily removable, fast to make and, most importantly, do not require any hand stitching!  Ain’t nobody got time for whip stitching! So follow along below to see how I construct one of these with, as a bonus, a timely themed applied applique ... sorry ... that last sentence section was a real tongue twister : ).


STEP 1: Gather Supplies


  • Pillow form
  • Fabric for pillow cover & applique
  • “Wonder Under” fusible interfacing
  • Thread for pillow cover & contrasting color for applique
  • Shamrock clip art
  • Sewing machine & basic sewing supplies
  • Ruler or tape measure
  • Pencil
  • Iron & ironing board


STEP 2: Cut Fabric Panels
  • Cut ONE front panel and TWO back panels
  • Front panel = 1”added to both the width and length of the pillow form
  • Back panel = width of pillow + 1” by length of pillow/2 + 4” (for hem and overlap)
  • For example: if the pillow form is 16” x 16” the front panel will be 17” x 17” and one back panel will be 17” x 12” (or 16/2 + 4)


STEP 3: Measure and mark the center point of the front panel


STEP 4: Size, print and cut out shamrock clip art


STEP 5: Iron “Wonder Under” to shamrock fabric according to manufacturer’s directions


STEP 6: Trace shamrock shape onto the paper backing then cut out


STEP 7: Peel away paper backing then fuse shamrock to the center of the front panel


STEP 8: Zig-zag stitch over raw edges of shamrock to finish applique


STEP 9: Hem one long end of both back panels


  • Fold over ½” and press
  • Fold over ½” again and press
  • Top stitch to secure


STEP 10: Layer and pin panels


  • Lay front panel on work surface with right side up
  • Layer backs on top with right sides facing down and hemmed edges facing towards center
  • Pin layers together


STEP 11: Round corners


  • Trace rounded shape onto all four corners and cut
  • This step helps to lessen the “pointy rabbit ear” effect on the corners


STEP 12: Stitch around all four sides of pillow cover


STEP 13: Turn cover right sides out and press then insert pillow form and enjoy


Hope you have fun constructing your own themed “shams” ... and don’t hate me because of the math ... once you get things laid out ... it will all become clear ... clear as mud ... Lol.

See you back here on Thursday for another shamrock project that will surely ... well ... ROCK! : )


signature

Tuesday, February 10, 2015

Altered Mailbox Challenge

Hey All of our Crafty Friends,

Today we have a special treat for you.  The Crafting Journal Team took on a Challenge.  I sent the team a paper mache Mail Box that I picked up at Hobby Lobby.  We were to each alter the mailbox to our liking.  No special rules.  

Here is our take on "Altering Mailbox".  Let us know what you think?  

This breath-taking mail box was created by Darlene Kearns.  


This stunning mail box was created by Elizabeth Barboza.


This beautiful mail box was created by Barbara Dykhouse.


This gorgeous mail box was created by Anna Zuniga.


Thank you for stopping by. 
signature

Tuesday, November 18, 2014

Day 2: Fall, Thanksgiving and Gratitude Hooplah


Hey Everyone! Elizabeth here with today’s TCJ Fall, Thanksgiving and Gratitude Hooplah submission. 

I really wish I could take credit for this Chevron Monogram Sign, but alas I can’t. This entire project ... as is the case with about 85% of all the DIY projects in my home ... was envisioned, supplied and directed by my dear friend Jane. Pretty sure the only two elements I completed on my own were the bow and the wire hanger.  


My name is Elizabeth Barboza and I’m a co-dependent crafter.  

So before I show off the details, and especially in the spirit of Thanksgiving, I’d like to take this opportunity to publicly thank my DIY partner-in-crime for all her generosity of time, talent, and truckloads of wood scraps! Thank you Jane! You’re the best!

Ok ... enough sappiness ... on to the project.

Jane and her sweet hubs constructed the sign from regular fence boards straight off the shelves of Home Depot.  Yes. No pallets were harmed in the making of this sign. 


Basic construction steps: 
  • cut fence boards to desired length 
  • line five lengths up side by side
  • glue scrap wood strips to boards
  • add finishing nails to keep boards from shifting while glue dries


To hang the sign, I made a wire hanger by attaching eye hooks to the top strip of scrap wood then running picture wire in between.  

Basic décor steps: 
  • stain front of sign
  • use chalk paint and a hand-cut template (ours was made from that very elite and expensive medium called Poster Board) to create the chevron pattern
  • distress paint as desired and needed using sand paper
  • add monogram letter and bow


I wanted to be able to change out my monogram ... different colors for different seasons ... so I attached my letter with those “easy to remove adhesive strips” ... the hooky kind.  


Well, there you have it ... Jane’s Chevron Monogram Sign.  Mine is hanging on my front porch and each time I open my door to greet someone, I am reminded of the wonderful friendship I am blessed to share with Jane!  

And thanks dear readers ... for sharing your time and interests with us here at TCJ! Have a terrific Thanksgiving!


signature

Tuesday, August 12, 2014

Altered Letter "B"

 
Hey Friends, 
 
Anna here from St@mpanna Designs to share with you a gift I made for a friend. 
 
This is a Paper Meche Letter "B" for Betsy.  Betsy is a friend of mine and I missed her Birthday Last week so Saturday I spent the day with her & I gave it to her and she loved it.  I loved it too.  So I bought an "A" to do.  {wink}
 
Here is what I started out with: 
 
Not pictured are the twine, spray adhesive, gold glitter, button, ribbon and hot glue gun/sticks.  Not to mention the M & M's, Sweet Tea, and Skype with my sister in California (I'm in New Jersey) for moral support until 2 am early Saturday Morning.  {smile}  
The holes in the "B" were a little difficult to do but I managed it.  I kept saying to myself.  Keep Going it will work out.  That is what I did,  KEPT GOING. 
TIP:  I had to cut the yarn in pieces to wrap it through the holes in the "B" because the skein wouldn't fit through the hole. 
I ended up using one whole skein of yarn on this letter.  I used hot glue the back of the letter to hold the yarn while I wrap.  I would wrap for a while and then hot glue on the back to support it better. 
On the pre-made flower I added some tea stained seam binding ribbon (I tea stained my own ribbon)  added a button with twine to the center of the bow and glued it onto the flower.  After I finished the whole thing I sprayed the adhesive spray on top of the letter & sprinkled with some fine gold glitter. 
 
Thank you for stopping by today!  
signature

Sunday, May 11, 2014

Happy Mother's Day!


Hey there Friends,  Anna here from St@mpAnna Designs and I am here to wish all the Mom's out there a wonderful Mother's Day! 

Today I am going to share with you a project that I made for my in-laws for Mother's Day.  This project is Super cute and cost efficient.  
First- I went to Marshall's and purchased the tea cup's and little bowl.  I did catch them on sale for $5.50 for the tea cup & $3 for the other bowl.  I bought two of each cup and bowl.  Then Hubby & I went to Lowe's and purchased some annual flowers.  The flowers cost about $1.60 - $5 for a grouping (depends on what you want).  However,  I did end up purchasing more than I needed.  ooppss...  :)   When I got home I transplanted the flowers over to their prospective "presentable" container.  (i.e... Tea cup or the bowl)
After I finished transplanting the flowers - I used my die by Mama Elephant to cut the tag out of vanilla card stock.  Then I pulled out out a stamp set I have had for quite a while and it is by Stampin' Up called Natures Walk.  I used a variety of ink from Hero Arts: Butter Bar, Forest Hills, and Chalkboard.  I also used Not Quite Navy ink by Stampin' Up.   

Last week-end the hubby and I went to a garage sale and I purchased a typewriter for $5.  What a deal!!!  I was so happy to use my typewriter to type out "Happy Mother's Day" onto craft card stock then I cut it out with my scissors and created fish tails on each end.  

The cute little heart is from a small punch that I punched out of pink card stock scraps. Then I tied the tag onto the handles with some vintage, crinkled, and shabby seam binding ribbon.

Thank you so much for stopping by today and I hope you all have a wonderful Mother's Day.  

signature

Tuesday, December 3, 2013

Holiday Hooplah Mantle Piece featuring Bundled Up Line by Crate Paper

Yes, Virginia There is a Santa Claus!  One of my favorite stories if you can't tell by the book in the background of my mantle piece.    A great time of year to have the name Virginia!   :)

 
I had fun making this piece for my mantle.   I found the house shaped wood piece at AC Moore.  My friend Tracey "twisted" my arm to get the Crate Paper "Bundle Up" kit.    (Thanks Tracey!)   I love that it has Christmas themed items as well as Winter themed items.    I feel like I can easily swap out the Santa and Christmas chipboard elements once the holidays are over and keep this piece up well after the holidays!

 
To make this little mantle piece you need coordinating paper and embellishments, your paper trimmer, paint and adhesive.     I bought the shadowbox at AC Moore and the little toy elements at Michael's.   My husband loves trains so I was thrilled to find the mini train set.       All you do is paint your shadowbox, trim your paper to size add your embellishments and your trinkets and treasures.   I may even try to find some small photos and place them in some of the cubes.


This is a great project to do with the kids or just have a little 'me' time to craft something personal that you can add to your holiday décor from year to year.

Happy Holidays!  Don’t forget to leave a note below and read the details at this link to enter our drawing for a box jam-packed full of crafty treats

Warm regards,  Virginia


signature