
Hey everyone ... Elizabeth here today with an easy envelope pillow
tutorial. I love making envelope pillow covers
(or for the purpose of an engaging blog title ... “shams”) because they are easily
removable, fast to make and, most importantly, do not require any hand
stitching! Ain’t nobody got time for
whip stitching! So follow along below to see how I construct one of these with, as a
bonus, a timely themed applied applique ... sorry ... that last sentence
section was a real tongue twister : ).

STEP 1: Gather Supplies

- Pillow form
- Fabric for pillow cover & applique
- “Wonder Under” fusible interfacing
- Thread for pillow cover & contrasting color for applique
- Shamrock clip art
- Sewing machine & basic sewing supplies
- Ruler or tape measure
- Pencil
- Iron & ironing board
STEP 2: Cut Fabric Panels
- Cut ONE front panel and TWO back panels
- Front panel = 1”added to both the width and length of the pillow form
- Back panel = width of pillow + 1” by length of pillow/2 + 4” (for hem and overlap)
- For example: if the pillow form is 16” x 16” the front panel will be 17” x 17” and one back panel will be 17” x 12” (or 16/2 + 4)
STEP 3: Measure and mark the center point of the front panel

STEP 4: Size, print and cut out shamrock clip art
STEP 5: Iron “Wonder Under” to shamrock fabric according to manufacturer’s directions

STEP 6: Trace shamrock shape onto the paper backing then cut
out

STEP 7: Peel away paper backing then fuse shamrock to the center
of the front panel

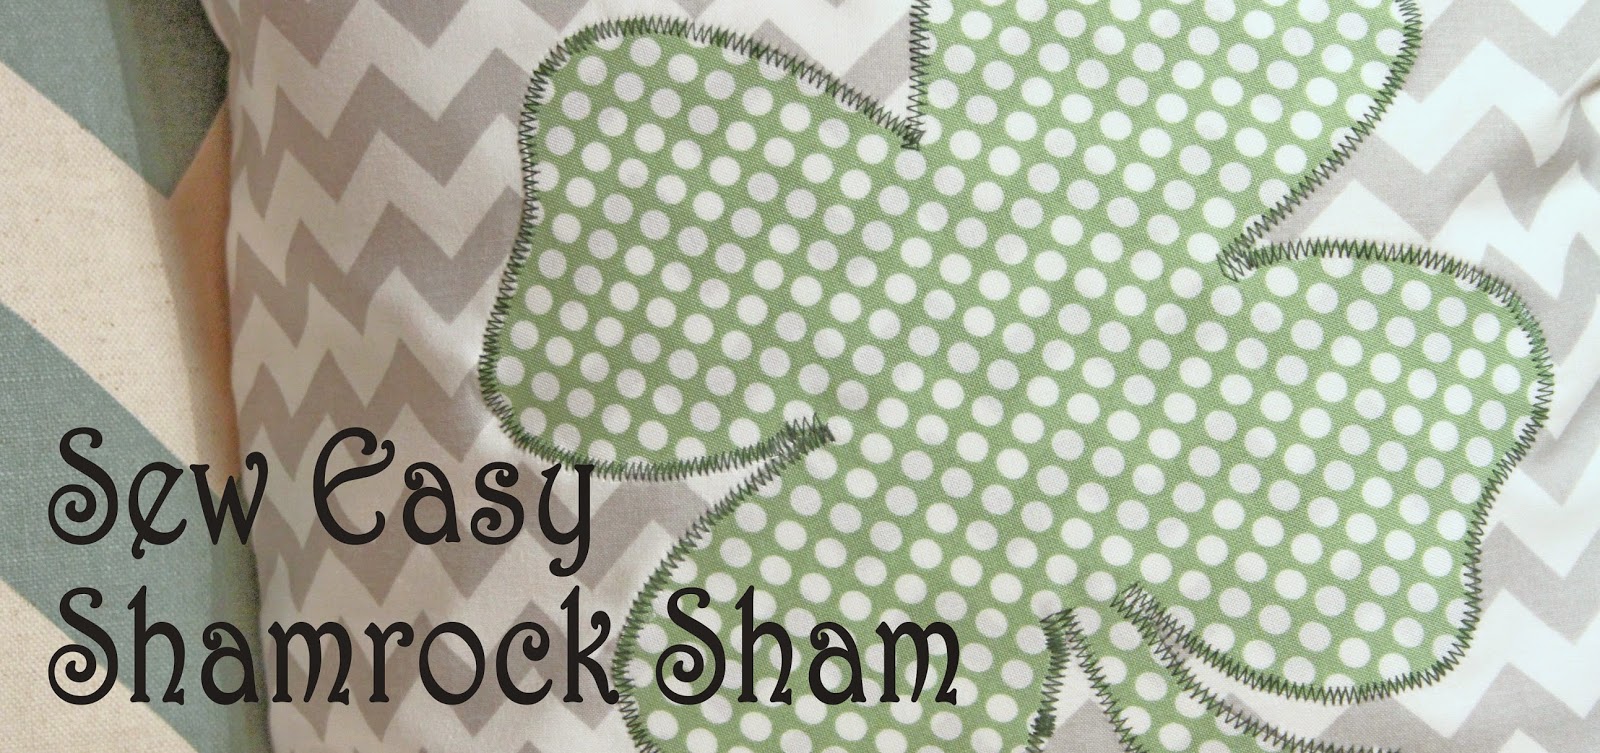
STEP 8: Zig-zag stitch over raw edges of shamrock to finish
applique

STEP 9: Hem one long end of both back panels

- Fold over ½” and press
- Fold over ½” again and press
- Top stitch to secure
STEP 10: Layer and pin panels

- Lay front panel on work surface with right side up
- Layer backs on top with right sides facing down and hemmed edges facing towards center
- Pin layers together
STEP 11: Round corners

- Trace rounded shape onto all four corners and cut
- This step helps to lessen the “pointy rabbit ear” effect on the corners
STEP 12: Stitch around all four sides of pillow cover
STEP 13: Turn cover right sides out and press then insert
pillow form and enjoy

Hope you have fun constructing your own themed “shams” ...
and don’t hate me because of the math ... once you get things laid out ... it will
all become clear ... clear as mud ... Lol.
See you back here on Thursday for another shamrock project
that will surely ... well ... ROCK! : )

No comments:
Post a Comment