Sunday, February 22, 2015

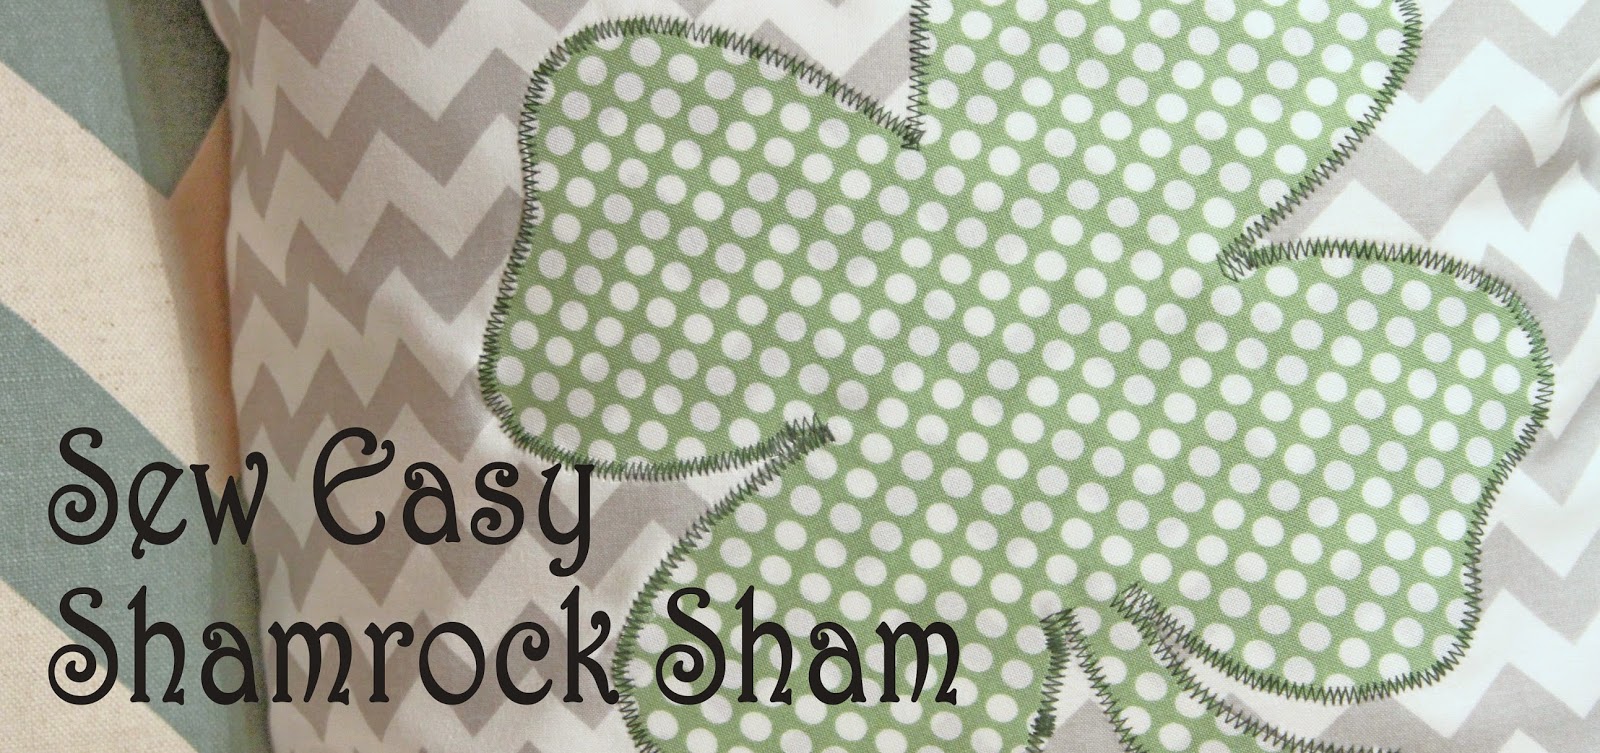
Sew Easy Shamrock Sham


Hey everyone ... Elizabeth here today with an easy envelope pillow tutorial.  I love making envelope pillow covers (or for the purpose of an engaging blog title ... “shams”) because they are easily removable, fast to make and, most importantly, do not require any hand stitching!  Ain’t nobody got time for whip stitching! So follow along below to see how I construct one of these with, as a bonus, a timely themed applied applique ... sorry ... that last sentence section was a real tongue twister : ).


STEP 1: Gather Supplies


  • Pillow form
  • Fabric for pillow cover & applique
  • “Wonder Under” fusible interfacing
  • Thread for pillow cover & contrasting color for applique
  • Shamrock clip art
  • Sewing machine & basic sewing supplies
  • Ruler or tape measure
  • Pencil
  • Iron & ironing board


STEP 2: Cut Fabric Panels
  • Cut ONE front panel and TWO back panels
  • Front panel = 1”added to both the width and length of the pillow form
  • Back panel = width of pillow + 1” by length of pillow/2 + 4” (for hem and overlap)
  • For example: if the pillow form is 16” x 16” the front panel will be 17” x 17” and one back panel will be 17” x 12” (or 16/2 + 4)


STEP 3: Measure and mark the center point of the front panel


STEP 4: Size, print and cut out shamrock clip art


STEP 5: Iron “Wonder Under” to shamrock fabric according to manufacturer’s directions


STEP 6: Trace shamrock shape onto the paper backing then cut out


STEP 7: Peel away paper backing then fuse shamrock to the center of the front panel


STEP 8: Zig-zag stitch over raw edges of shamrock to finish applique


STEP 9: Hem one long end of both back panels


  • Fold over ½” and press
  • Fold over ½” again and press
  • Top stitch to secure


STEP 10: Layer and pin panels


  • Lay front panel on work surface with right side up
  • Layer backs on top with right sides facing down and hemmed edges facing towards center
  • Pin layers together


STEP 11: Round corners


  • Trace rounded shape onto all four corners and cut
  • This step helps to lessen the “pointy rabbit ear” effect on the corners


STEP 12: Stitch around all four sides of pillow cover


STEP 13: Turn cover right sides out and press then insert pillow form and enjoy


Hope you have fun constructing your own themed “shams” ... and don’t hate me because of the math ... once you get things laid out ... it will all become clear ... clear as mud ... Lol.

See you back here on Thursday for another shamrock project that will surely ... well ... ROCK! : )


signature

Thursday, February 19, 2015

Love Is Kindness

I have another flower card to share with you.  This was one of my swap cards for the Stampin' Up! Leadership in Orlando last month.  I favor our stamps that have floral and botanical images, and this one is such a great single stamp.  Love Is Kindness is a wood mount stamp and sells for only $8.95.


This is the supply list (all Stampin' Up!) ~
  • Paper ~ Pink Pirouette, Basic Black, Whisper White, and Typeset DSP
  • Ink ~ Memento Black
  • Blendabilities (alcohol markers) ~ Pink Pirouette and Wild Wasabi
  • Accessories ~ Pink Pirouette seam binding
  • Stamp ~ Love Is Kindness 
I am really ready for spring, and lately I have been bringing home flowers from Trader Joe's.  They help me look forward to warmer days and really perk up the kitchen as well as my spirit!  Here is what I am enjoying now.


If you are interested in any of these Stampin' Up! products, you can order them here at my online store.

signature

Sunday, February 15, 2015

Think Spring!

It's hard to believe that those of us in the Northeast are in for another nasty, wintery weekend!  I am so ready for spring this year.  How about you?  Well, I can't hurry it up, but I can give you a breath of spring in a card.


What do you think?  I was inspired by a beautiful new stamp set from Stampin' Up!, Butterfly Basics, which includes a matching set of thinlits dies.  I honestly don't know what I would do without my Big Shot, my tool of choice for die cutting and embossing.  Here is the supply list for all of the Stampin' Up! products.  
  • Stamps:  Butterfly Basics, I Love Lace Background
  • Inks: Crisp Cantaloupe, Pistachio Pudding, Soft Suede, Hello Honey
  • Paper: Whisper White, Crisp Cantaloupe
  • Accessories:  Big Shot, Fast Fuse adhesive
I hope this leaves you with a little bit of crafting inspiration.  Think spring!

signature

Thursday, February 12, 2015

I "toadally" Love You!

Hey Crafty Friends,

One of my all time favorite stamp companies is Whippersnapper Stamps.  The stamp I used today is an oldie but a goodie.  

This is a mini card that is great for a package or a gift bag. 
I stamped the image on white card stock and then colored the cute little guy in with my copic markers.  After I cut the image down to size I used a yellow copic marker and went around the edges to give it a little more color.  I then matted the image on red card stock and adhered it down to the card base.  
Nothing fancy on this card.  Sometimes simple is better.  

Thank you for stopping by today and be sure to share your Valentines Crafiness with us on our facebook page:  The Crafting Journals. 
signature